D.I.Y. and Save.
7 Tools, 7 Steps, 70 Minutes and Complete.

Tools Required
Step 01
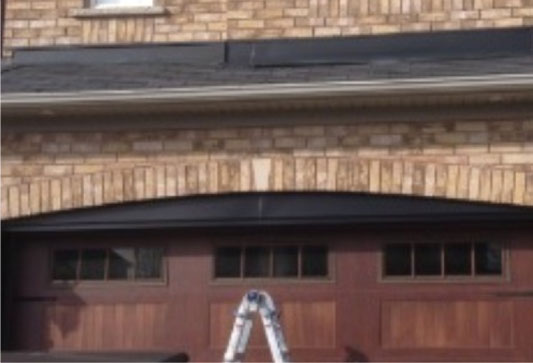
Measure your wall or if the sign is going between your lights measure on between your lights and find the center and chalk it.
Step 02
If installing solo then pre-cut tape and place it on the wall to assist you when taping up the template.

Step 03
Match up the center line on the wall with the center line on the template.

Step 04
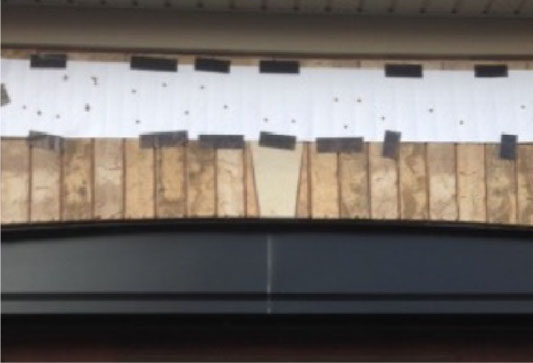
Tape your template in place and use a level on the horizontal line of the template as a guide to ensure its levelled.

Step 05
Drill the holes as shown on the template. For bricks you require a 1/4″ bit approximately 1 inch in length. For stone you require a 1/4″ bit approximately 2″ in length. For stucco your require 3/16″ bit approximately 1″ in length.
Step 06
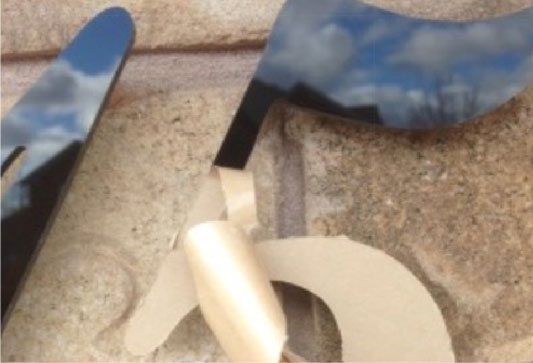
Remove the template and fill the holes with clear Silicone. Then gently massage the sign into the holes until the acrylic spacer sits flush with the surface. When installing on stone the sign will not sit flush due to the different contours of the stone. So find the the highest contour on the stone and gently push the sign in. The screws will stick out on stone.

Step 07
Remove the protective coating and your sign is complete.